
Building a custom PC is like crafting your ultimate machine—it’s personal, exciting, and gives you control over what goes into your setup. Whether you’re gaming, editing videos, or just need a reliable workhorse, this guide will help you pick the right components, stay within budget, and avoid any head-scratching moments along the way.
Let’s break it down and make this process as easy (and fun) as possible.
Step 1: Set Your Budget
First things first—how much are you willing to spend? Knowing your budget upfront keeps you focused and helps narrow your options. Here’s a quick breakdown:
• Basic Build ($500–$800): Great for simple tasks, office work, or light gaming.
• Mid-Range Build ($800–$1,500): Perfect for gamers and multitaskers who want smooth performance at 1080p or 1440p.
• High-End Build ($1,500+): For those chasing 4K gaming, lightning-fast rendering, or the absolute best in performance.
💡 Tip: Write down your budget and stick to it. It’s easy to overspend when shiny new tech tempts you!
Step 2: Think About What You Need
Ask yourself, “What do I want my PC to do?”
• For Gaming: Your graphics card (GPU) will matter most.
• For Creative Work: Balance between a powerful processor (CPU) and GPU.
• For Everyday Use: Speedy storage (SSD) and enough memory (RAM) should do the trick.
Step 3: The Key Components
Let’s dive into the essential parts of your custom PC.
1. Processor (CPU): The Brain of Your PC
Your CPU handles most of the heavy lifting.
• Budget Picks: Intel Core i3/i5 or AMD Ryzen 3/5.
• Mid-Range: Intel Core i5/i7 or AMD Ryzen 5/7.
• High-End: Intel Core i9 or AMD Ryzen 9 for serious multitasking and content creation.
💡 Tip: If you’re gaming, aim for 6–8 cores. For editing or 3D work, look at 12+ cores.
2. Graphics Card (GPU): The Heart of Gaming
The GPU powers your games and handles graphics-heavy tasks like 3D rendering.
• Affordable Options: NVIDIA GTX 1660 or AMD RX 6600.
• Mid-Range: NVIDIA RTX 3060 or AMD RX 6700 XT.
• Top Tier: NVIDIA RTX 4080/4090 or AMD RX 7900 XTX.
💡 Tip: Gamers should go for at least 8GB of VRAM, while creators may need 12GB or more.
3. Memory (RAM): Multitasking Power
RAM helps your PC handle multiple tasks at once.
• Minimum: 8GB (for basic tasks).
• Sweet Spot: 16GB (great for gaming or work).
• More Power: 32GB+ (for heavy multitasking or video editing).
💡 Tip: If you can afford it, go for DDR5 RAM for better performance.
4. Storage: Speed Meets Space
Storage keeps your files, games, and programs ready to go.
• Starter Option: 500GB SSD for speed.
• Balanced Build: 1TB SSD + 2TB HDD for the best of both worlds.
• High-End: 1TB NVMe SSD or more for blazing speeds.
💡 Tip: Always choose an SSD (Solid State Drive) over an HDD (Hard Disk Drive) for your main drive. You’ll thank yourself when your PC boots up in seconds!
5. Motherboard: The Foundation
Your motherboard connects all your components.
• Match it to your CPU (Intel or AMD) and future-proof it if you can.
• Budget-Friendly: Look for B-series boards like B550 or B760.
• High-End Features: Go for X670 or Z790 for overclocking and extras.
💡 Tip: Make sure your motherboard has enough slots for future upgrades like extra RAM or SSDs.
6. Power Supply Unit (PSU): Don’t Skip This
Your PSU powers everything, so it’s important to choose a reliable one.
• Wattage: Most builds need 500–750W. Use an online PSU calculator if you’re unsure.
• Quality: Look for 80 PLUS Bronze or better (Gold is a great middle ground).
💡 Tip: A bad PSU can damage your components—stick to trusted brands like Corsair, EVGA, or Seasonic.
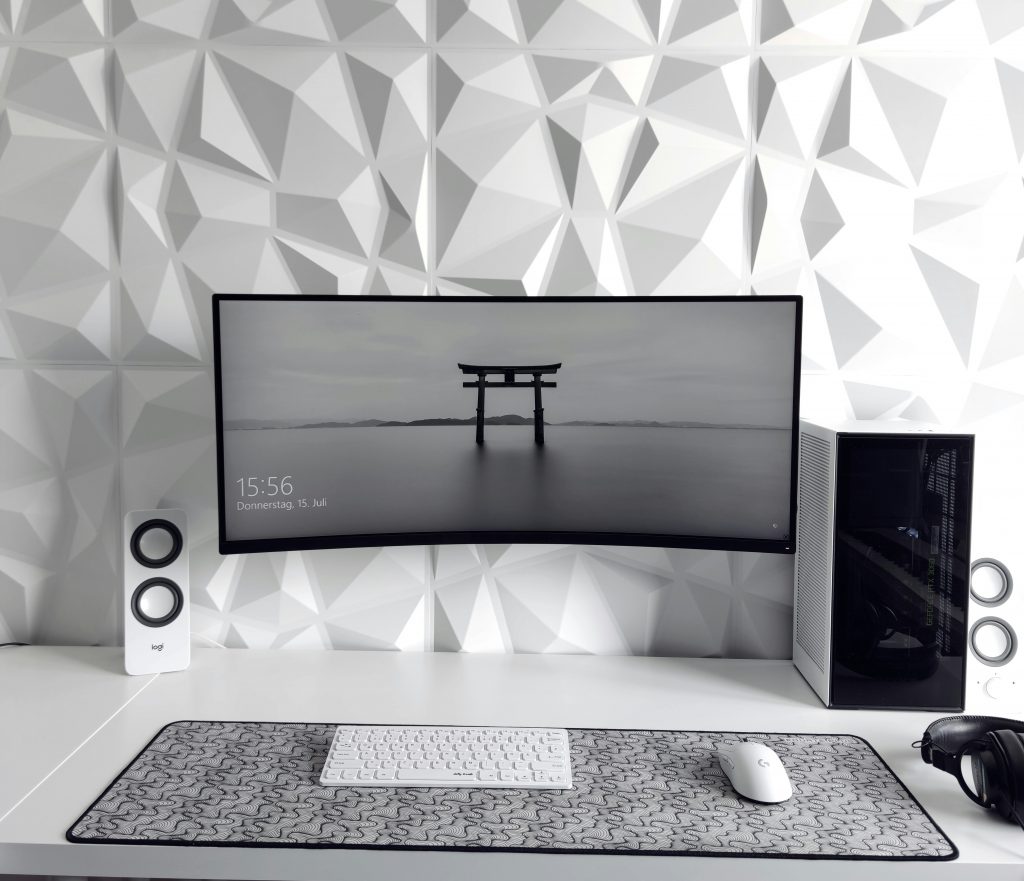
7. Case: Looks and Airflow
Your PC case should fit your components and keep everything cool.
• Size: ATX cases are standard; Micro-ATX and Mini-ITX are for smaller builds.
• Features: Look for good airflow, cable management, and enough space for upgrades.
💡 Tip: Pick a case you love the look of—it’s your build, after all!
8. Cooling: Keep It Cool
• Stock Coolers: Often fine for budget or mid-range builds.
• Upgrades: Air coolers or liquid coolers are great for high-end PCs or overclocking.
💡 Tip: Check your CPU’s temperatures during use to make sure your cooling is enough.
Step 4: Plan for Future Upgrades
Think ahead! Spending a little extra now can save you money later.
• Get a PSU with extra wattage for future components.
• Pick a motherboard that supports PCIe 5.0 and DDR5.
• Choose a case with room for extra storage and better cooling.
Step 5: Where to Buy Components
Stick with trusted retailers for quality and warranty support:
• Amazon
• Newegg
• Micro Center (amazing in-store deals!)
• Best Buy
Step 6: Assembly Made Simple
Building your PC is easier than it seems—don’t overthink it!
• Follow a step-by-step video guide for a stress-free experience.
• Use a static-free workspace to avoid damaging components.
• Double-check all connections before turning it on.
💡 Tip: The first time you hear your new PC power on is magic—don’t rush it!
Final Thoughts
Building your custom PC is an incredible way to get exactly what you want, within your budget. Start with the essentials, plan ahead, and don’t be afraid to ask for help or check guides online. Whether it’s your first build or your fifth, the process is always rewarding.
Good luck, and happy building! For more tips, check out the rest of our guides here on FixITDevices.